Moving from Ghost to Astro: Why I Ditched the Proxmox LXC for Static Pages
A few years back I wrote a post titled Why I chose Ghost…. At the time, I had just migrated away from Medium because getting £0.50p a month while having them control my content wasn’t exactly rewarding. Back then, I looked at static site generators like Hugo and Gatsby, but I didn’t want the learning curve or all the moving parts. I wanted something simple, self-hosted, and all-in-one. Ghost fit that bill nicely.
So along I went, deployed Ghost inside an LXC container on my Proxmox cluster, hooked it up to Cloudflare Tunnels (cloudflared) to expose it to the internet without opening firewall ports, and called it a day.
It worked really well for years. Until the homelab disaster gods decided to strike.
Recently, the physical Proxmox host running that Ghost LXC suffered catastrophic storage failures when both an HDD and an M.2 drive decided to pack it in at the same time. Now, like any responsible homelabber, I had Proxmox Backup Server (PBS) running. But in a masterstroke of architectural genius that I can only laugh at now, PBS was running as an LXC on that exact same host, and backups were being written to one of the drives that failed.
Look, I know what you’re thinking. Rule #1 of backups: don’t keep your backup server on the machine you’re backing up. In my defence, I naively assumed that only one drive would fail at a time, not both. Lesson very much learned.
The silver lining was that I had separate database backups, so when we restored the Ghost database, all the article text, titles, and tags came back intact. But the actual image files? They lived on the Ghost LXC’s local filesystem in /content/images/ and were completely wiped out.
Facing the prospect of rebuilding another Ghost LXC, setting up MySQL again, and re-routing tunnels, all while staring at a blog full of broken image placeholders, I had a moment of clarity. Why on earth was I running a 24/7 database, Node.js runtime, and tunnel connector on physical home hardware just to serve articles that only change once or twice a month? If a drive fails or my home internet wobbles, why should the blog go down with it?
So instead of resurrecting Ghost, I decided to do two things: recover the lost images from the Internet Archive Wayback Machine, and migrate the whole thing to a completely static Astro build hosted on Cloudflare Pages.
Let’s Go!
The Goal
In a nutshell, the goal was straightforward:
- Ditch the Proxmox LXC: Free up homelab RAM and CPU, eliminate MySQL backups, and decouple the blog from home server uptime and drive failures.
- Recover the lost images: Pull historic diagrams and screenshots back from the dead using the Wayback Machine.
- Keep the URLs intact: No broken links. All old Ghost URLs (
/slug/and/p/slug/) had to keep working. - Keep it fast and privacy-friendly: Built-in static search without external SaaS, slick syntax highlighting for code blocks, and privacy-respecting self-hosted analytics.
- Fully automated delivery: Push markdown to GitHub, and let Cloudflare Pages do the rest.
1. Getting the Content Out of Ghost
The first hurdle was getting all my old articles out of Ghost and into Markdown.
Ghost makes exporting easy enough. Under Settings > Labs, you can download a single JSON backup containing all your posts, tags, and authors. But turning a massive JSON blob into clean, individual markdown files with proper headers for a modern static site is usually where the headaches begin.
Now, I’m an infrastructure and DevOps guy, not a software developer. I certainly didn’t want to spend my entire weekend writing custom JSON parsing scripts or wrestling with schema definitions. So I let AI do the heavy lifting: I fed it the Ghost JSON export, told it what metadata I needed (titles, dates, tags, and slug URLs), and had it generate clean Markdown files ready for Astro.
Within minutes, years of posts that were once trapped inside a MySQL database were sitting as plain .md files in a folder on my machine. No database, no proprietary CMS lock-in, just clean, portable text files. Job done.
2. The Image Recovery Mission (Wayback Machine to the Rescue)
With the Ghost database restored, I had all the markdown text and post bodies, but every single post was riddled with broken image links. The local /content/images/ folder was sitting in silicon heaven on the dead M.2 drive.
So how do you recover years of homelab screenshots, architecture diagrams, and custom banners when the original storage is toast?
Enter the Internet Archive Wayback Machine.
Luckily, the Wayback Machine had crawled blog.sim22.co.uk regularly over the years. I found a solid snapshot from early 2025, which still had all the assets cached.
Instead of clicking through dozens of archived pages and manually saving images one by one like a caveman, I pulled the archived assets using waybackpack (you can also use the Dockerized wayback-machine-downloader):
# Pull archived assets from the snapshot timestampwaybackpack blog.sim22.co.uk -d ./recovered_assets --to-date 20250327222126Once downloaded, I grabbed the recovered content/images/ folder and dropped it straight into Astro’s public/content/images/ directory:
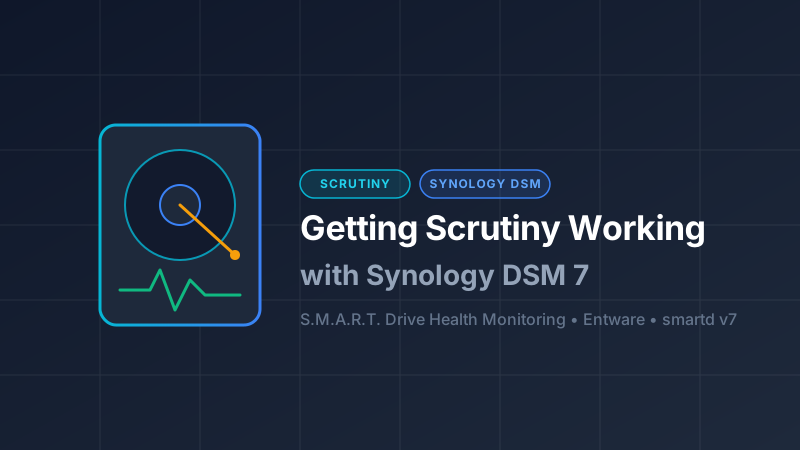
sim22-blog/├── public/│ └── content/│ └── images/ <-- Dropped recovered Wayback images here│ ├── 2021/│ │ └── 11/│ │ └── proxmox-gpu.png│ └── 2022/│ └── 06/│ └── scrutiny-synology.pngBecause Astro serves everything in public/ directly from the root of the site, all the original image paths in the posts (e.g., /content/images/2021/11/...) resolved immediately without needing to run search-and-replace scripts on hundreds of markdown links.
Seeing all the old Proxmox GPU passthrough diagrams, router graphs, and Scrutiny screenshots pop back to life from an Internet Archive snapshot was an incredible feeling.
3. Theme & UI Tweaks
For the frontend, I found a clean free theme and tweaked it to my liking. Out of the box it came with a lot of bits I simply didn’t need or want, like interactive 3D banners, music player docks, floating widgets, and complex site stats counters.
I stripped all that out to keep things clean and focused on the content:
- Trimmed the About page down.
- Replaced the animated banner with a static Lego Styled header.
- Designed matching bespoke Lego Styled illustrations for the 404, 403, 500, and 503 error pages.
Is It Automated?
Short answer: 100% yes.
Because Astro outputs 100% static HTML, JS, and CSS, hosting it on Cloudflare Pages is a match made in heaven.
The old workflow with Ghost meant logging into the Ghost admin panel on the web, typing into the web editor, uploading images through the browser, and hoping the database didn’t have any issues.
The new workflow is pure Git:
[Local Machine / VS Code] │ ▼ git push origin main[GitHub: SiM22/sim22-blog] │ ▼ Webhook Trigger[Cloudflare Pages Build] ├── pnpm install ├── astro build (generates static HTML + Pagefind index) └── Deploy to Edge- I write my post locally in markdown using whatever editor I want.
- I drop images directly into the repository.
- I commit and run
git push origin main. - Cloudflare Pages automatically picks up the commit, runs the build, generates the static output and Pagefind search index, and pushes the changes across hundreds of edge locations worldwide.
The whole build takes less than 40 seconds.
There is no SSHing into a server, no restarting systemd services, and no database migrations.
What Did I Learn?
- Static is King for Blogs: Unless you run a massive multi-author publication with real-time membership paywalls, running a full-blown CMS and database for a personal tech blog is just unnecessary overhead.
- Markdown in Git is Freedom: Having all my words, configs, and guides stored as plain text files in a version-controlled repo gives me peace of mind that no database corruption or proprietary export format can ever take away.
- Astro is Fantastic: Astro gives you the flexibility of modern components when you want them and the site is lighter and faster than before.
What Now?
Now that the foundation is set, the blog is completely decoupled from my homelab hardware, and I don’t have to maintain another LXC container, I can get back to what actually matters: tinkering in the homelab and writing up the results.
Have a go and see what you create.