Automated deployment of Helm Charts with Gitlab-CI on a Private Kubernetes Cluster
I was wondering how to actually phrase the title to give enough info to get you interested, hopefully it worked and you just read this

I was wondering how to actually phrase the title to give enough info to get you interested, hopefully it worked and you just read this senteance. As you may know from previous blog posts I have a small home lab set up where I run a 4 node kubernetes cluster, and I use helm charts to manage what is running.
When I started off I had each helm chart in its own git repo, and would create feature branches and then locally I would just use helm to push the changes, but this becomes quite complicated the more charts you have and the more changes you make, it is a lot to manage. I use Gitlab for my repos, I dont self host this as I dont really want to self host Git when the free version allows me to have private repos and i dont have to care about upgrading the version on new releases or what not.
So that explains a little bit, I have a private kubernetes cluster which is not accesible to the outside world, and I use Gitlab which is publicly available. You may ask then how do you get GitlabCI to talk to your private cluster….well you dont. Gitlab normally has public runners which you can use (you get an allocation of minutes on the public ones) to run your pipelines, but they also provide you a way of deploying the Gitlab Runners on a Kubernetes cluster, they even package it all up in a helm chart for you and this is what does all the hard work.
Kubernetes Gitlab Runners
The way it works is in your project/group on Gitlab you can get a runner registration token. I would recommend a runner for each group rather than a runner per project. I have a group in Gitlab called Helm Charts, in that group I have all my different projects with different helm charts. This way I isolate this runner to only carry out workloads related to charts.
You can see this by going to *Group > Settings > CI/CD > Group Runners*. When you click on expand you should see a token. This token is added to the values in the helm chart, and it essentially registers that runner to that group.
Lets have a look at the repo which has the helm chart (https://gitlab.com/gitlab-org/charts/gitlab-runner), you can also find other official gitlab helm charts here — https://charts.gitlab.io/
The values you need to add/modify are as follows:
gitlabUrl:
runnerRegistrationToken
rbac:
  create: false
  clusterWideAccess: false
tags: "tag1,tag2"
serviceAccountName:
envVars:
  - name: RUNNER_EXECUTOR
    value: kubernetes
The values are self explanatory, i will touch on the tags, specify the tags as these are what you will use in your .gitlab-ci file. And just make sure you have a service account which has permissions.
When your done modifying lets go ahead and deploy the runner
helm install -n <NAMESPACE> gitlab-runner ./values.yamlGive it a few minutes and it will have deployed, now we can go check gitlab to see if it has registered. Go to *Group > Settings > CI/CD > Group Runners* and you should see something like this.

So that is all set up, now we need to get a .gitlab-ci.yml file created with our pipeline. I will place an example one below and then you can tweak as you please.
# Pipeline steps list

stages:
  - test
  - dryrun
  - deploy

variables:
  NAMESPACE: "consul"
  APP: "consul"

# Lint and unit tests
lint:
  stage: test
  image:
    name: alpine/helm:3.1.1
  script:
    - helm lint
  tags:
    - tag1
    - tag2
  only:
    refs:
      - merge_requests

# Dry run
dryrun:
  stage: dryrun
  image:
    name: alpine/helm:3.1.1
  script:
    - helm upgrade --install --namespace $NAMESPACE $APP ./ --dry-run
  tags:
    - tag1
    - tag2
  only:
    refs:
      - merge_requests

# Deployment step
deploy:
  stage: deploy
  image: alpine/helm:3.1.1
  script:
    - helm upgrade --install --namespace $NAMESPACE $APP ./
  tags:
    - tag1
    - tag2
  only:
    refs:
      - master
In the pipeline above we are essentially following Gitlabs docs on pipelines
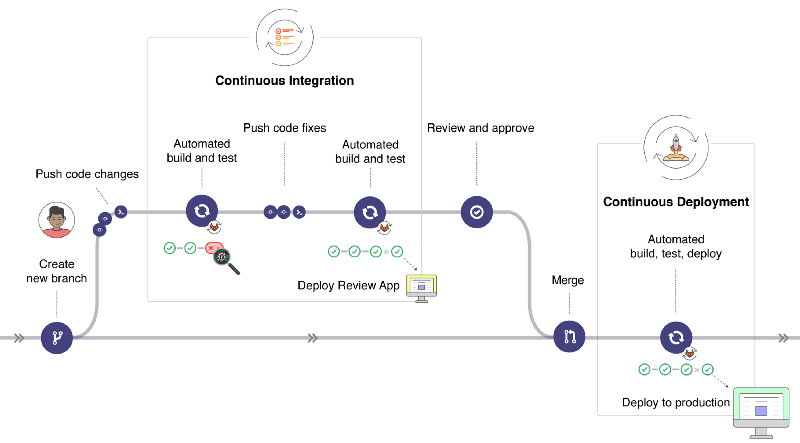
Only difference is here we are not running the whole pipeline WITH the deploy, we are just spinning up the deploy as a seperate step to the pipeline. This is called a detached pipeline and essentailly means that until you MERGE to master then nothing gets deployed. This is simple but you can add all sorts of logic.
On a side note I am using another gitlab runner on my kubernetes cluster to run ansible molecule tests and then push the changes to infrastructure on succesful completion and that will most likely be my next blog post.
Hopefully this post has helped anyone who has a little home lab at home be able to do CI/CD with out having to self host Git and open up ports and create any risks.
There is also other ways to set up the pipeline, so you can have one fluid motion from push to feature to deploy but this adds a small level of seperation that allows me to just double check the prior jobs before merging to master